Organization Setup
This tutorial guides you through creating an organization in the Envio hosted service and adding team members to collaborate on your .projects
Step 1: Access the Hosted Service
1.1. Navigate to envio.dev
1.2. Click the Hosted Service button in the top right corner
Step 2: Log In with GitHub
2.1. Click the "Login with Github" button in the top right corner
2.2. After logging in, you'll be redirected to your hosted service page at https://envio.dev/app/<your-github-username>
Step 3: Create a New Organization
3.1. Click the dropdown arrow next to your GitHub username in the top left corner
3.2. In the popup menu, click the "Install App" button next to "+ Add new organisation"

Step 4: Install Envio Deployments App
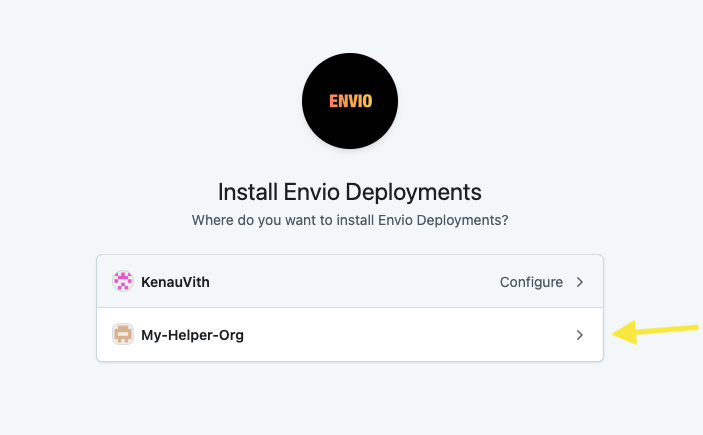
4.1. You'll be redirected to the GitHub App installation page
4.2. Select your organization from the list
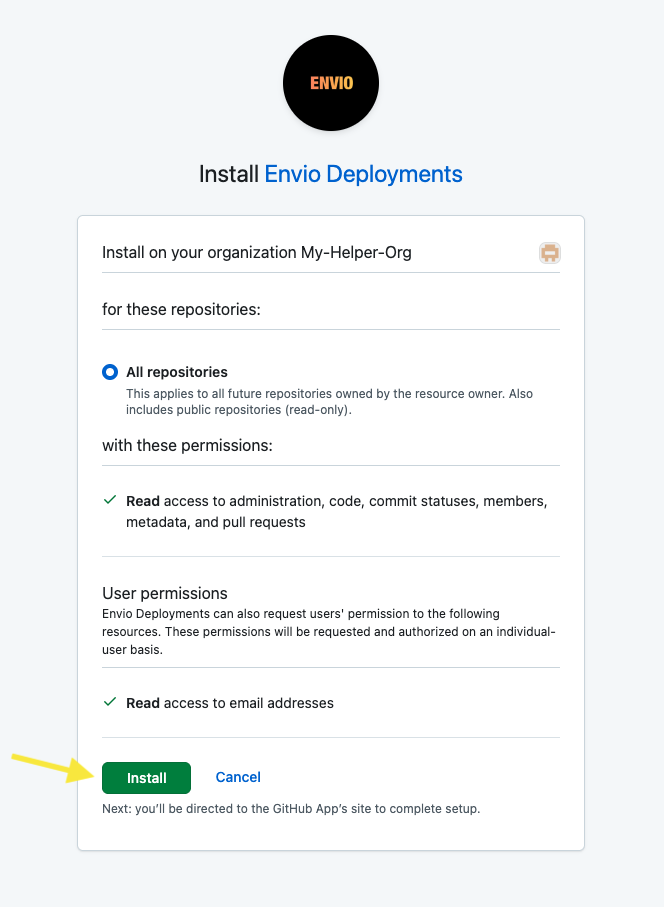
4.3. On the next page, click Install to authorize the app
4.4. After installation, you'll be redirected to your organization's page in Envio
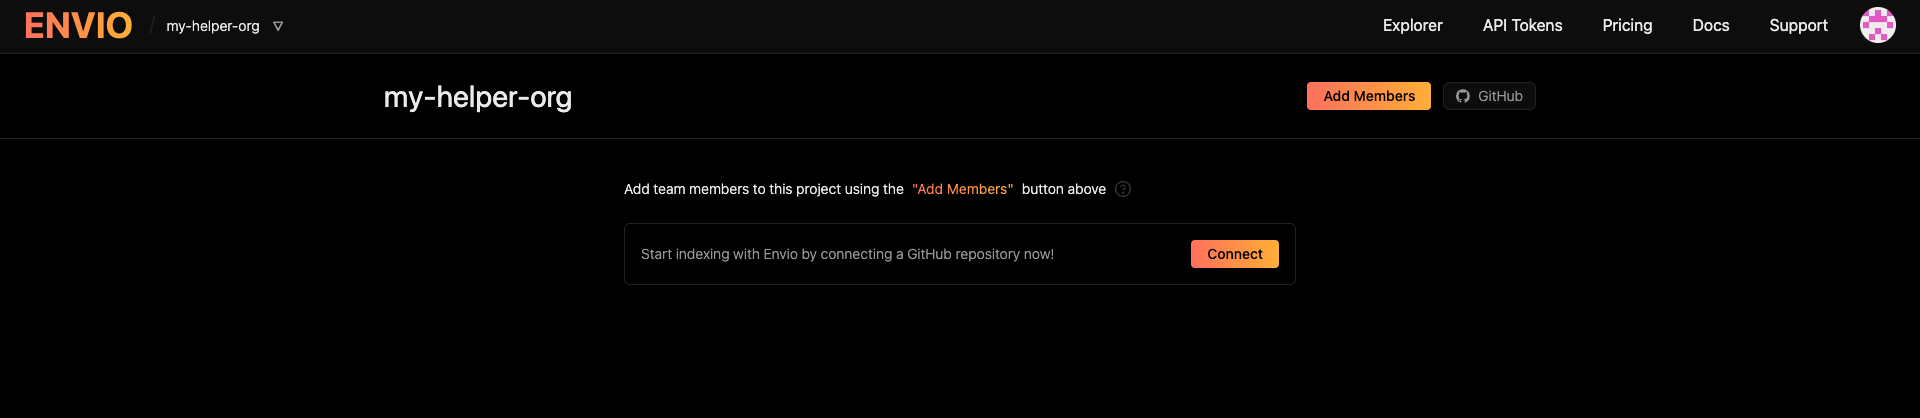
Step 5: Understanding Member Access
5.1. When other GitHub organization members try to access the organization page in Envio (by navigating to https://envio.dev/app/<your-org-name>), they'll see an error: "You are not a member of the project"

5.2. This occurs because the organization admin must explicitly add members through the Envio UI, even if they're already members of the GitHub organization
Step 6: Adding Members to the Organization
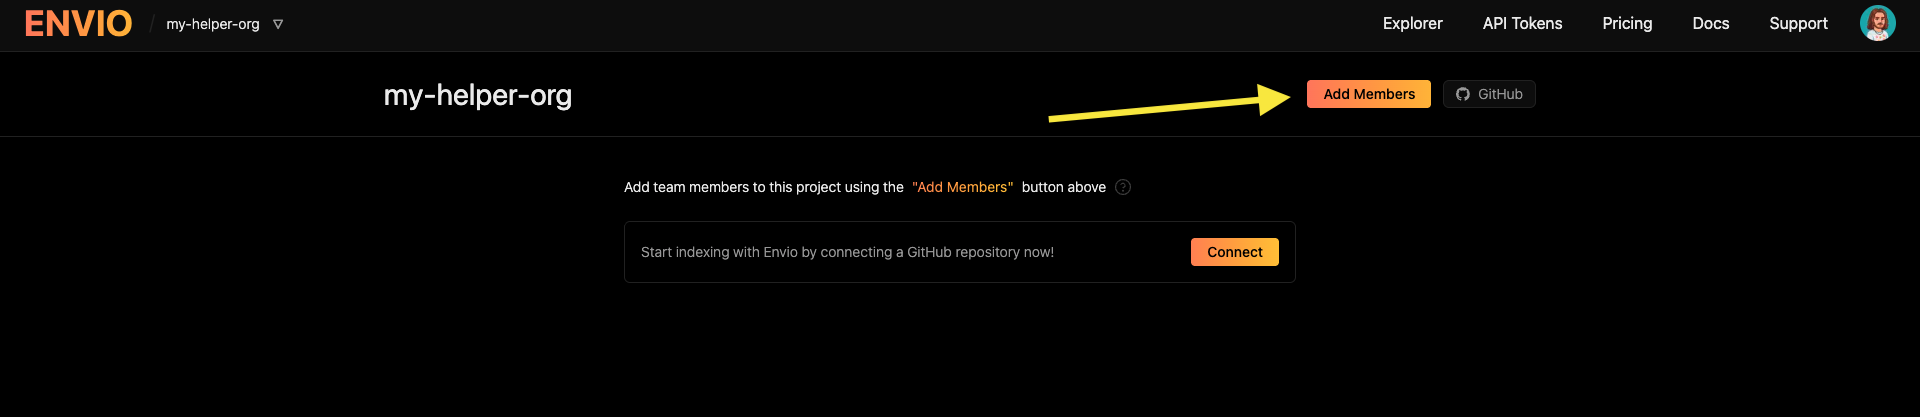
6.1. Navigate to your organization page in the Envio hosted service
6.2. Click the "Add Members" button
6.3. You'll see a list of all members in your GitHub organization
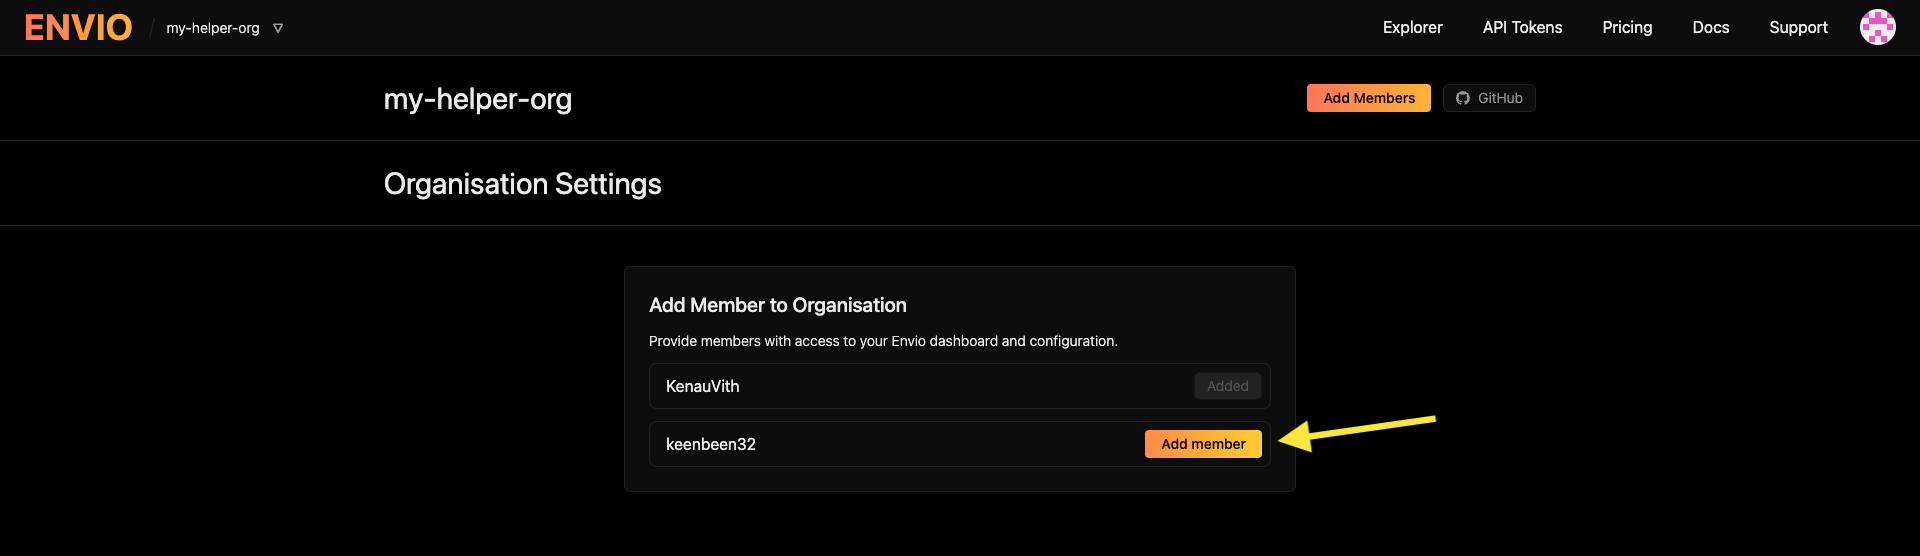
6.4. Click "Add member" next to each user you want to grant access to
6.5. Once added, these users can access the organization page and create indexers under the organization